Getting started
Overview of the wizard
Sharing your game with the community is simple and quick! You only have to complete 6 steps to explain your game to youth workers worldwide. Let’s get started!
Step 1
Game
-
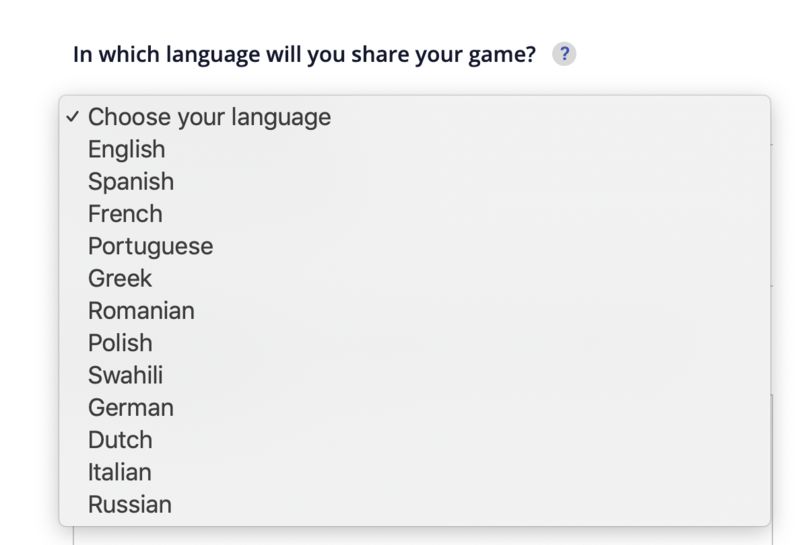
Choose one of the 12 available languages to share your game. Once you upload your game, our platform will automatically translate the content into English, French, Dutch and Spanish.
-
Come up with a short, clear and catchy title for your game.
-
Write a short, informative description to give key information about your game. This way you can convince other users to play it.
Step 2
Basic materials
-
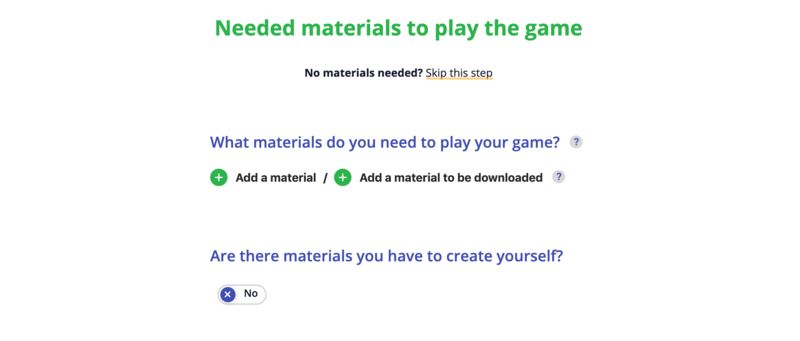
Describe the materials you need to play the game.
-
Press the ‘Add a material’ button and describe the material you need to play the game. Need more materials? You can add as many as you want by simply pressing the ‘Add a material’ button again.
-
If you want to add materials as an attachment - such as printable images, pictures of a board game as pdf-file, questions for a quiz,... - press the button ‘Add a material to be downloaded’. Click the ‘Choose a file’ button to browse your computer and attach the file. Note: the uploaded materials will not be translated.
Step 3
Self-made materials?
Are there materials you have to create yourself? In that case, swipe the button from ‘no’ to ‘yes’ and new options will appear.
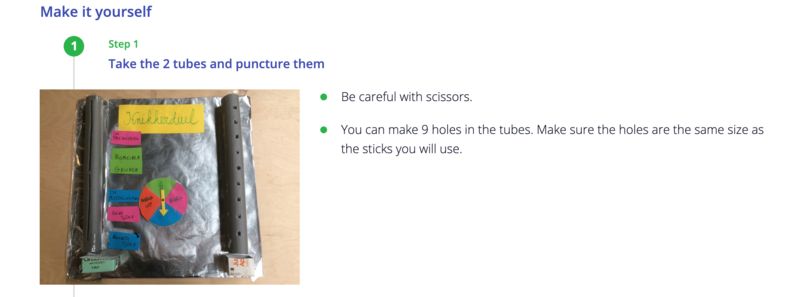
- Add a title and clear and detailed instructions for each step of the creation process.
- If available, add pictures to visualise the different steps to take. You can read the tutorial ‘Create materials and write instructions’ for more info!
No materials needed? Just click the button ‘Skip this step’.
Step 4
How to play

On the ‘How to play’ page, explain how to play your game, step by step.
- Start by writing down the first step of your game. Be clear and descriptive. Keep in mind that other users are not familiar with your game yet.
- Add a new step by clicking the ‘Add a step’ button. Make sure to keep each step as short as possible. You can add as many steps as you want.
- For more information, read our tutorial ‘Explain the game step by step’.
Step 5
Additional game information?
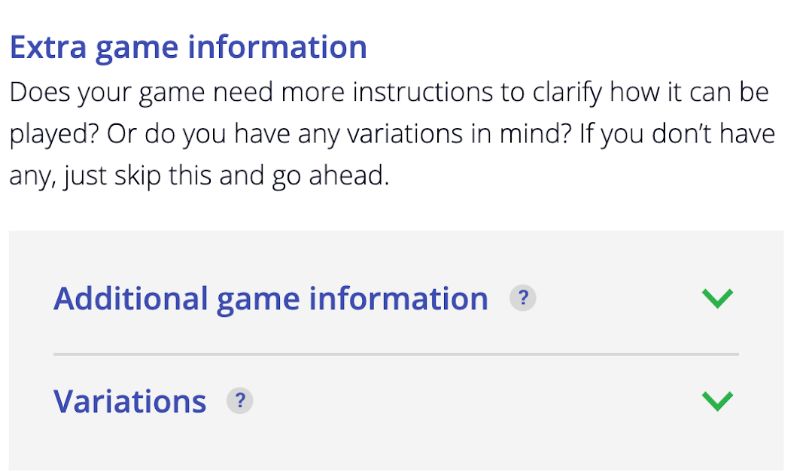
After completing your step-by-step explanation, you can add extra game information and variations.
-
If you want to provide more instructions to clarify how the game can be played, press the button ‘Additional game information’.
-
Do you have any variations of the game in mind (e.g. how to play the game with a different age group), add them in the tab ‘Variations’.
If you don’t need to share extra game information, simply click the ‘Next’ button.
Step 6
Media Gallery - pictures
It’s time to add some visuals to your game to make it more attractive!
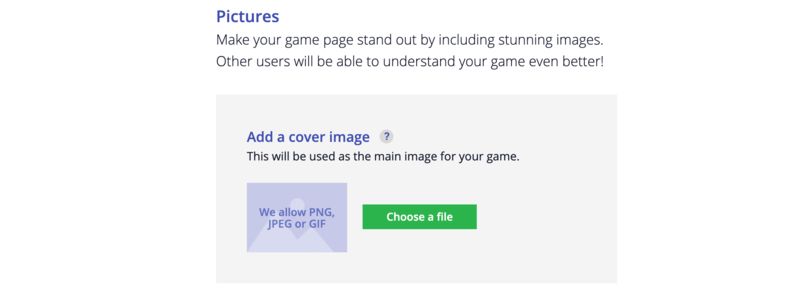
In this step you can upload pictures for your game, starting with your cover picture.
-
Add a cover image by clicking on the button ‘Choose a file’. Your file can be png., jpeg. or a gif.
-
You can upload more pictures to visualise the different steps of the game or a picture of children playing the game.
-
Keep in mind that your pictures should help other users to understand your game. Make sure all pictures are sharp and clear.
-
If you do not have any pictures, feel free to search the internet for a relevant one. However, you’ll have to filter the usage rights of the pictures shared. For more information, check out the tutorial ‘Upload qualitative image’.
Step 7
Media Gallery - videos
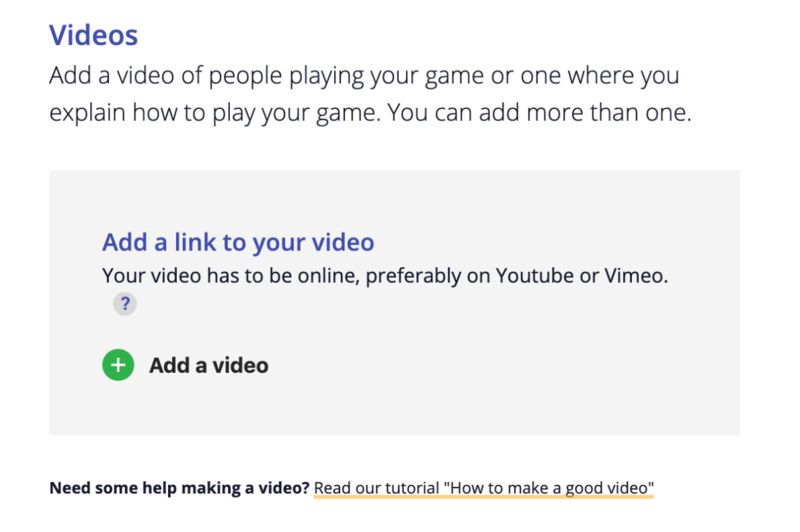
Besides pictures, you can also upload a video to explain your game. You can record and add videos to better explain your game to the community.
- Upload your video to one of the major video sharing platforms (such as Youtube, Vimeo, …), so you can share the website URL in the wizard. For more info, read our tutorial ‘How to make a good video’.
- Once you have uploaded your pictures and/or videos, tick the box to declare you own the rights of the images and videos you uploaded. If you don’t tick the box, the platform will not display the images.
No media to share? Just click the button ‘Skip this step’.
Step 8
Tag it!
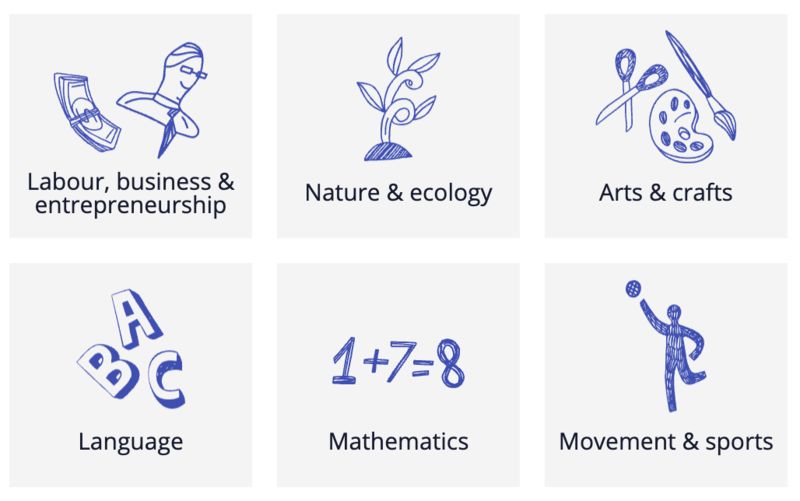
Tagging your game will allow other users to quickly find your game through the built-in filter system. Choose the applicable characteristics of your game to categorize your game in the database.
-
Select topics, learning skills, the activity type, applicable age groups, time needed to play the game, number of players, difficulty level, intensity level, space needed and the type of materials.
-
Be aware there is a limited number of tags you can use per category
-
You can also specify the learning skills to be gained by playing your game. Just add them in the box linked to it.
Step 9
Finish!
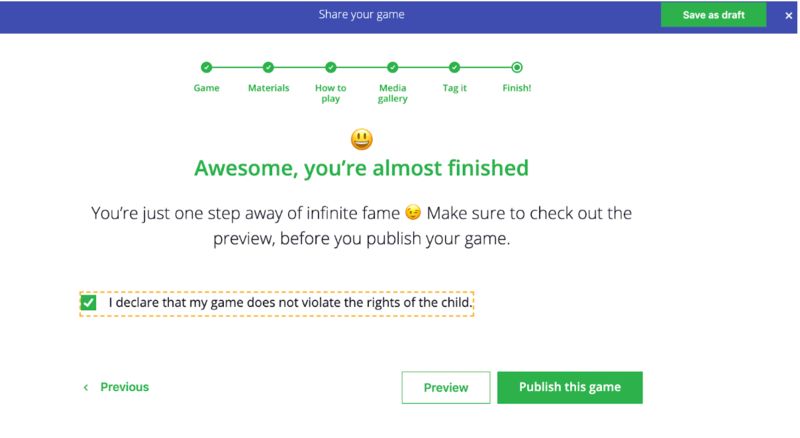
Now, your game is almost ready to be published!
-
Click on the ‘Preview’ button to see what your game looks like and to identify potential mistakes. You can always make corrections by going back to the previous steps.
-
Check the box that declares your game does not violate the rights of the child and click the ‘Publish the game’ button.
-
Don’t worry if you don’t immediately see your game in your published games on your profile. Whenever you upload your game in a language other than English, French or Spanish, your game will only be published after being reviewed by us.
-
Running out of time during the process, or do you want to continue your upload later? No problem! Your game will be saved as a draft in your account and you can finish it later.
